
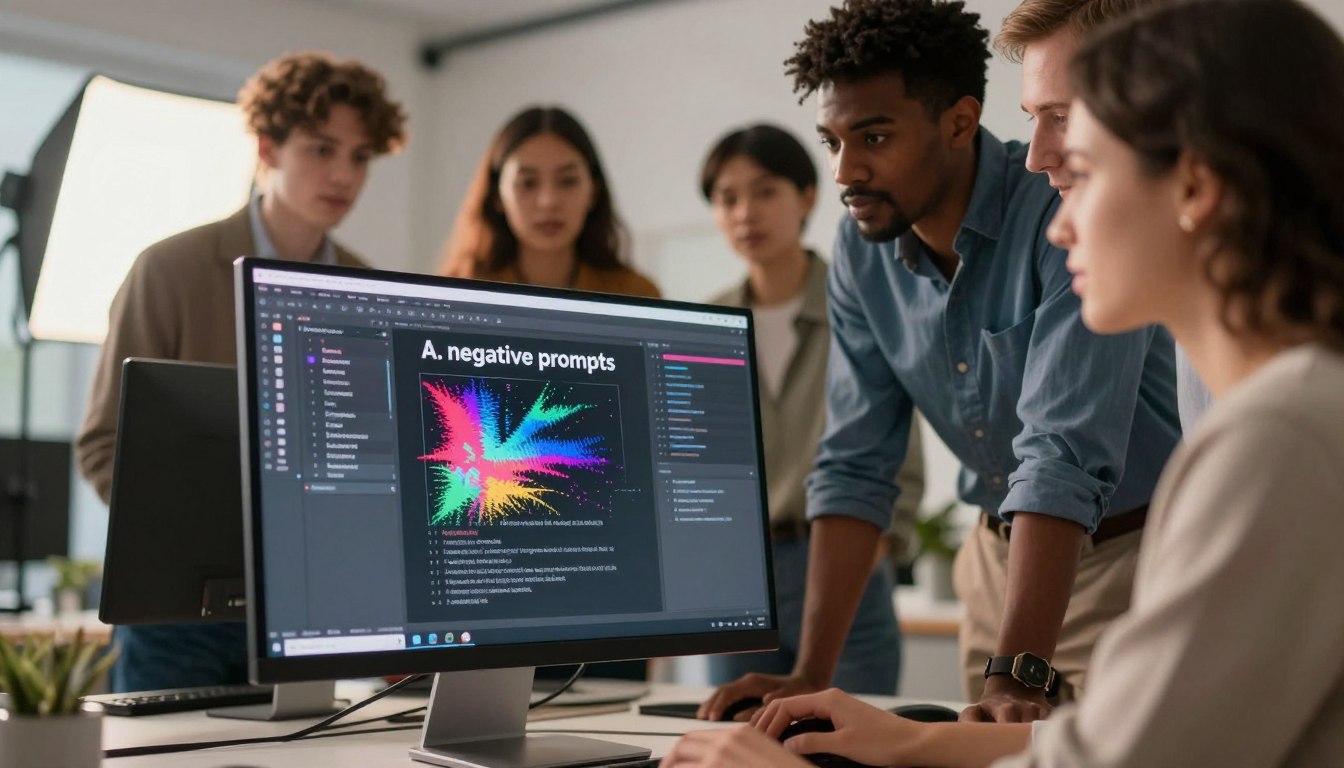
Can a few carefully chosen lines of text save hours of editing and transform a flawed render into a clean, professional image?
You work fast. You expect crisp images from Stable Diffusion, but artifacts and poorly drawn features still appear. The right negative prompts act like filters. They stop unwanted elements during image generation so your output needs less cleanup.
In this guide, you’ll find practical recipes that improve image quality and realism. These tips cut editing time and help your generated images match the styles you want.
Whether you make a single picture or a text-to-video project, applying these constraints within Stable Diffusion boosts results. You’ll spend less time fixing errors and more time refining your art.
Key Takeaways
- Use targeted negative prompts to filter out common artifacts early in generation.
- Stable Diffusion responds well to clear constraints, improving realism and quality.
- Proper prompts save at least a minute or more per image in post-editing.
- Over 200 effective negative lines exist for text-to-video workflows.
- Consistent use of these recipes helps maintain professional output across projects.
Understanding the Role of Negative Prompts
Setting precise avoid-list items shapes output much like a stencil shapes paint.
Defining what to exclude gives you predictable control over generation. A negative prompt is a short instruction that tells the system what to avoid. When you craft these phrases clearly, you reduce odd artifacts and off-target details.
Defining Negative Prompts
Think of a negative prompt as an exclusion list. Use concise words that name the features you never want to see. That clarity helps Stable Diffusion skip unwanted elements in the latent space.
How Models Interpret Constraints
The model treats your constraints as boundaries. It weighs those lines against your positive prompt and steers generation away from flagged features. This behavior improves consistency and cuts editing time.
- Guide the model: short, specific exclusions work best.
- Refine over time: regular use trains your workflow for steadier results.
- Use exact terms: name the error or artifact you want to remove.
Why Your AI Creations Suffer from Artifacts
Artifacts usually creep in when a model tries to guess missing details.
Your generated images suffer when the system gets vague instructions. The model fills gaps with odd elements or blended styles. That creates poorly drawn features and low quality output.
Stable Diffusion needs clear limits to produce consistent results. When you add a negative prompt, you tell the model what to ignore. That prevents unwanted elements from appearing and improves realism.
Practical fixes include tracking effective lines in tools like ClickUp Brain or Whiteboards. Organize the short exclusions that give you the best quality. This saves time across image and video projects.
| Issue | Cause | Quick Fix |
|---|---|---|
| Poor facial detail | Vague prompt, mixed styles | Use targeted exclusions and style anchors |
| Weird limbs or joins | Model guessing missing structure | Specify anatomy constraints and weight terms |
| Floating objects | Incomplete scene context | Add grounding terms and remove unwanted elements |
- Be explicit: short exclusions help the model avoid errors.
- Catalog what works so repeated generation stays reliable.
Essential Negative Prompts AI Porn and Anatomy Fixes
Targeted exclusions for hands, eyes, and sensitive content give you predictable image outputs.
Fixing Anatomical Distortions
Hands, fingers, and limbs often break during generation. Add concise exclusions such as “extra fingers,” “fused limbs,” “bad anatomy,” and “poorly drawn face” to reduce these errors.
For portraits, explicitly exclude “extra arms” or “extra limbs” to protect the face and arms from strange joins. This saves you time in postwork and improves final image quality.
Removing Quality Artifacts
Quality problems like stray text, odd lighting, or floating elements degrade results.
Use short exclusions that name the artifact: “text overlay,” “floating objects,” “lighting glitch,” or “weird texture.” These lines help stable diffusion focus on clean, coherent images and video frames.
Handling NSFW Content
Filtering explicit themes keeps your work compliant. When working with negative prompts ai porn, use targeted constraints to exclude explicit acts and sexualized details.
Keep a safe list that blocks obvious terms and styles. This ensures your model stays within platform rules while producing usable art fast.
- Exclude “extra fingers” and “drawn face” for hands and faces.
- Block “text,” “weird lighting,” and “floating elements” for cleaner outputs.
- Keep explicit content filters active for compliance and safer results.
| Issue | Quick exclusion | Benefit |
|---|---|---|
| Extra fingers | “extra fingers” | Cleaner hands in portraits |
| Poorly drawn face | “poorly drawn face” | More realistic facial detail |
| Floating objects | “floating objects” | Better scene grounding |
Refining Artistic Styles with Negative Constraints
To lock in a consistent look, you must block styles that clash with your chosen direction.
Maintaining Aesthetic Consistency
Start with clear exclusions. Define a concise negative prompt that names textures, colors, or effects you do not want in your images.
When you label unwanted elements, the model avoids mixing genres. That prevents an oil painting feel from bleeding into a clean vector style.
Use short, repeatable terms so each prompt reads the same across projects. This makes it faster to reproduce a brand look and saves time during revisions.
- Exclude conflicting textures like “watercolor” or “3D render” for a flat vector aesthetic.
- Block vague visual noise such as “grainy texture” or “weird brush strokes” to reduce poorly drawn details.
- Keep a small library of tested lines so content across images stays coherent.
For example, a single negative prompt that says “no watercolor, no 3D render, no grain” helps keep each image sharp and consistent. Over time, those terms become a reliable style guard for your art.
Improving Facial and Hand Realism
Correcting eyes and fingers first often turns a so-so render into a convincing image.
Start by targeting the most noticeable elements: the eyes, mouth, and hands. A concise negative prompt that names “poorly drawn face” or “bad anatomy” helps the model avoid common mistakes.
Focus on hands next. Use exclusions such as “extra fingers” and “extra limbs” to prevent odd joins and fused digits. That simple line often fixes the uncanny look in portraits.
Work in small steps: test one prompt, check generated images, then refine. When eyes look distorted, add a short instruction to remove “weird eyes” or “distorted eyes.” This improves overall quality quickly.
Consistent use of these constraints helps your art stay realistic. Over time, your workflow will produce cleaner images with fewer edits and more lifelike anatomy.
| Problem | Short exclusion | Result |
|---|---|---|
| Poorly drawn face | “poorly drawn face” | Improved facial detail |
| Extra fingers | “extra fingers” | Natural hands and fingers |
| Distorted eyes | “distorted eyes” | Clearer, lifelike eyes |
Advanced Techniques for Controlling AI Output
Fine-tuning control gives you surgical power over what the model renders.
Using weighting for precision lets you assign importance to each exclusion. In Stable Diffusion, use syntax like (word:1.5) to raise or lower influence. For example, (extra fingers:2.0) forces the system to avoid extra fingers more strongly.

Using Weighting for Precision
Apply weights to fix specific problems quickly. Boost terms for face and eyes to keep portrait detail. Lower weights for broad style exclusions to preserve texture.
Iterative Prompt Engineering
Test one change at a time. Save each variant and compare images. Over time, your small adjustments cut editing time and raise realism.
- Tip: Start with (poorly drawn face:1.8) for portraits.
- Use (extra fingers:2.0) or (extra limbs:1.8) for anatomy fixes.
- Repeat tests and tweak weights until the face and hands read naturally.
“Weighting and iteration turn guesswork into a repeatable workflow.”
| Issue | Weight example | Result |
|---|---|---|
| Extra fingers | (extra fingers:2.0) | Cleaner hands |
| Poorly drawn face | (poorly drawn face:1.8) | Sharper facial detail |
| Bad lighting | (lighting glitch:1.6) | Balanced exposure |
Practical Workflow for Better Generation Results
Start with a clear base prompt. State the subject, style, and lighting you want. Then add a concise negative prompt to filter out artifacts like stray text or harsh lighting.
Use the Aitubo AI Video Generator as your main tool when you need video output. It leverages Stable Diffusion and responds well to precise exclusions. This setup keeps image and video quality high.
Work fast: generate, review, then tweak a single line if the face or lighting is off. You can often check and refine results in under 1 min.
- Pick a base prompt that defines subject and mood.
- Add a short exclusion that removes text, watermarks, or odd reflections.
- Run a quick generation and inspect faces and overall lighting.
Example: for a beach video, exclude “text” and “watermarks” to protect the final content. Small, specific changes give steady improvements.
“Iterate one change at a time and save the working prompt that delivers the best results.”
Over time this workflow makes your work repeatable. The right prompt pair keeps output consistent across portraits and videos and saves editing time while raising quality.
Troubleshooting Common Generation Failures
When a render fails, small changes reveal which rule broke the image.
Isolate one variable at a time. Remove a single negative prompt or exclusion and run a quick test. This helps you see which term is causing odd fingers, fused limbs, or a poorly drawn face.
Check face and hands first. If the face looks wrong, remove lines that mention a poorly drawn face or bad anatomy and compare results. If fingers or arms misbehave, test exclusions for extra fingers, extra limbs, or malformed hands one by one.
Isolating Variables for Better Results
Run small A/B tests and save each variant. Note which term fixed lighting, removed stray text, or restored realism. Over time, you’ll learn how different models interpret the same terms and which elements need stronger weight or removal.
Example: If generated images have strange lighting, change the prompt that blocks specific lighting effects and test again. That isolates the cause without wasting time on unrelated tweaks.
| Failure | Test action | Expected result |
|---|---|---|
| Poorly drawn face | Remove “poorly drawn face” then regen | Clearer facial features in portrait |
| Extra fingers or fused hands | Remove “extra fingers” or “extra limbs” individually | Natural fingers and correct hand anatomy |
| Weird lighting or text overlay | Adjust exclusion for lighting or text | Balanced exposure and no stray text |
| Distorted arms or legs | Test terms for limbs and anatomy separately | Correct arms and legs, improved realism |
“Patience and systematic testing turn guesswork into repeatable results.”
Conclusion
Controlling what not to render gives you clearer, faster results every time.
strong, consistent use of concise exclusions is a fundamental skill for improving generated images and video. Pair clear main instructions with short constraints to filter out common artifacts and odd details.
Practice one change at a time, save your working lines, and iterate until faces and hands read naturally. Over time, this workflow cuts editing time and raises quality across projects.
Use the techniques in this guide to refine your process. With steady practice you’ll gain precise control and produce professional results more reliably.
FAQ
What is a negative prompt and how does it help fix artifacts in TitFlik AI?
A negative prompt is a list of elements you want the model to avoid. You use it to steer generation away from common artifacts such as extra fingers, distorted limbs, or odd facial features. By specifying unwanted items clearly, the model focuses on preferred details and reduces errors in the final image.
How do models interpret constraints you include in a negative prompt?
Models weigh your constraints alongside positive instructions. Clear, concise phrases like “no extra limbs” or “avoid blurred eyes” get higher influence when you place them with proper syntax and, if supported, weighting. Keep your wording consistent so the model learns which elements to deprioritize.
Why do my AI-generated images show anatomical distortions?
Distortions happen when training data contains inconsistent references or when the model tries to satisfy competing instructions. Complex poses, occlusions, and ambiguous descriptors increase error risk. Use focused constraints, reference images, and explicit pose descriptors to reduce distortion.
Which keywords work best to fix anatomical issues like extra fingers or misplaced limbs?
Use direct phrases such as “one hand per arm,” “accurate finger count,” “correct joint placement,” and “natural limb proportions.” Combine these with example-based guidance or reference images. Avoid overly long lists that may confuse the model.
How can I remove common quality artifacts like blurring, halos, and text remnants?
Include concise exclusions like “no blur,” “no halo lighting,” “no text overlays,” and “clean edges.” Also refine settings such as sampling steps, use higher-resolution seeds when possible, and apply denoising controls to improve sharpness and reduce ghosting.
How should you handle NSFW content in your constraints while staying compliant?
If you must avoid explicit content, state clear exclusions like “no explicit nudity,” “no sexual content,” and “no genital detail.” Prioritize safety filters offered by the platform and rely on responsible, policy-aligned wording to keep outputs appropriate.
How do negative constraints help maintain a consistent artistic style?
Negative constraints allow you to exclude style elements that clash with your target aesthetic, such as “no painterly brushstrokes” or “no heavy film grain.” Combine exclusions with positive style directives to reinforce the look you want and prevent mixed stylistic artifacts.
What techniques improve facial and hand realism specifically?
For faces and hands, use precise exclusions like “no misplaced eyes,” “no extra teeth,” “no extra fingers,” and “no misshapen hands.” Add positive references such as “natural eye alignment” and “realistic hand poses.” Higher-quality reference images and incremental refinement rounds yield the best realism.
How can weighting help you control which constraints matter most?
Weighting increases or decreases the influence of individual constraints. Assign stronger weights to critical fixes like “correct anatomy” and lower weights to minor stylistic exclusions. If the tool supports negative weights or bracket syntax, use those to fine-tune impact.
What is an iterative prompt engineering workflow for improving results?
Start with a clear positive prompt and a short list of high-priority exclusions. Run generations, review failures, then refine by adding or rephrasing constraints. Test small changes, keep logs of what works, and progressively narrow your negative list to avoid over-constraining the model.
How do you design a practical workflow to produce better images consistently?
Use reference images, lock key parameters (seed, resolution), and maintain a concise negative list for recurring issues. Batch generate variations, flag the best results, and iterate. Combine prompt tuning with post-processing like retouching or manual cleanup for final polish.
How do you isolate variables when a generation fails so you can fix the issue?
Change one factor at a time—swap a single constraint, alter sampling steps, or modify the reference image. Keep all other settings constant. This reveals which change produced improvement or regression and lets you target the root cause without guessing.
Are there common pitfalls to avoid that make artifacts worse?
Avoid long, redundant exclusion lists and contradictory instructions. Overuse of negatives can confuse the model and produce more errors. Also avoid vague phrasing; prefer specific, actionable constraints and confirm your platform supports the syntax you use.
Can you reuse negative prompt recipes across different projects or models?
Yes, but expect variation. Recipes for fixing hands, faces, or text artifacts transfer well, yet each model interprets wording differently. Treat recipes as starting points and adapt them to the target model, dataset, and artistic goals.